
Setting up a VPN server is incredibly valuable in terms of security and convenience. Last year I was traveling as a digital nomad throughout Europe and South America jumping from public WiFi to coffee shop to hotel WiFi. Being able to securely connect to my apartment in San Francisco while I was 6,000 miles away was fantastic. Using a VPN allows me to whitelist my apartment's ip address in firewall rules and then securely and confidently connect to servers and services.
The main requirement was that I wanted native support from macOS and iOS. While OpenVPN is very high quality and recommended, it does not natively work with macOS and iOS thus a non-starter for my use.
Luckily I found setup-ipsec-vpn by Lin Song @hwdsl2. Lin did an amazing job creating a wrapper script that essentially installs and configures IPsec/L2TP and native Cisco IPsec. Cisco IPsec is the gold standard in traditional enterprise VPN and provides higher throughput with less overhead than L2TP.
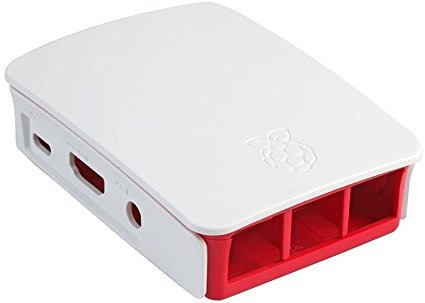
Once I had the software ironed out, it was time to buy the hardware. The obvious choice was a Raspberry Pi 3 Model B which you can buy on Amazon for $49.99 including a power adapter and free shipping.
I actually spent an hour or so finding the best Micro SD card money can buy in terms of performance, and ended up buying a Samsung 32GB EVO Plus. I also went fancy and got a beautiful cover for my Raspberry Pi from Amazon for an additional $7.75.
After all the parts arrived from Amazon, I simply installed the latest version of Raspbian Stretch Lite on my Pi and ran a quick sudo apt-get update && sudo apt-get upgrade. You can also use the full install of Raspbian with a desktop environment, but I opted for Lite (command line only).
Setup and installation of the VPN server software is literally a one-liner and works buttery smooth:
wget https://git.io/vpnsetup -O vpnsetup.sh && sudo \
VPN_IPSEC_PSK='your_ipsec_pre_shared_key' \
VPN_USER='your_vpn_username' \
VPN_PASSWORD='your_vpn_password' sh vpnsetup.sh
Replace your_ipsec_pre_shared_key, your_vpn_username, your_vpn_password, with your desired credentials.
Next, you'll need to assign a static private address to your Pi via DHCP reservation and then enable two port forwarding rules. I have an Apple AirPort Time Capsule at my apartment, so this process looks like:

And the two corresponding port forwarding rules:


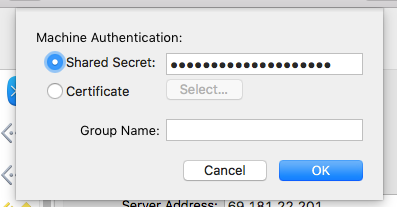
Lastly, just configure your Mac and iPhone to connect to your newly setup VPN server using Cisco IPsec.


Here are a few eye candy pictures of the completed Raspberry Pi VPN server at my apartment.

